CenturyLink is a major internet service provider operating across 16 states, delivering both DSL and fiber-optic internet to residential and business customers. In most metro markets, CenturyLink's fiber service is now branded as Quantum Fiber, offering symmetrical upload and download speeds over a pure fiber-optic network. In areas where fiber has not yet been deployed, CenturyLink continues to provide internet over its legacy DSL copper telephone infrastructure.
All CenturyLink plans are contract-free with no data caps on fiber and no early termination fees. The provider also offers a Price for Life guarantee on fiber plans, meaning your monthly rate stays locked in for as long as you maintain service. These consumer-friendly policies make CenturyLink a competitive option in the broadband market, especially for customers in its fiber footprint.
CenturyLink Internet Plans and Speed Tiers
CenturyLink currently offers three main plan tiers. Availability depends on your service address and whether fiber or DSL infrastructure serves your location.
-
Simply Unlimited Internet (DSL) - Download speeds up to 100-140 Mbps. Pricing starts around $50/month. Best suited for light to moderate internet use including browsing, email, and standard-definition streaming. Available in areas without fiber coverage.
-
Simply Unlimited Fiber Internet up to 500 Mbps - Symmetrical 500 Mbps upload and download speeds starting at $50/month. Ideal for households with multiple devices, HD streaming, video calls, and remote work.
-
Simply Unlimited Fiber Internet up to 940 Mbps - Symmetrical speeds up to 940 Mbps starting at $75/month. Designed for power users, 4K streaming on multiple devices, competitive gaming, and large file transfers.
Fiber plans include free professional installation, a free modem/gateway, and unlimited data. DSL customers may pay a modem lease fee of $15/month or purchase equipment outright. Using your own compatible modem eliminates that recurring cost entirely.
How to Activate Your Modem With CenturyLink
Whether you are using a CenturyLink-provided modem or your own compatible device, the activation process is straightforward. Follow these steps to get your internet service up and running.
Step 1: Confirm your service is active. Your CenturyLink internet line should be activated by 7 PM on your scheduled service start date. Check your email for an order confirmation with tracking and activation details.
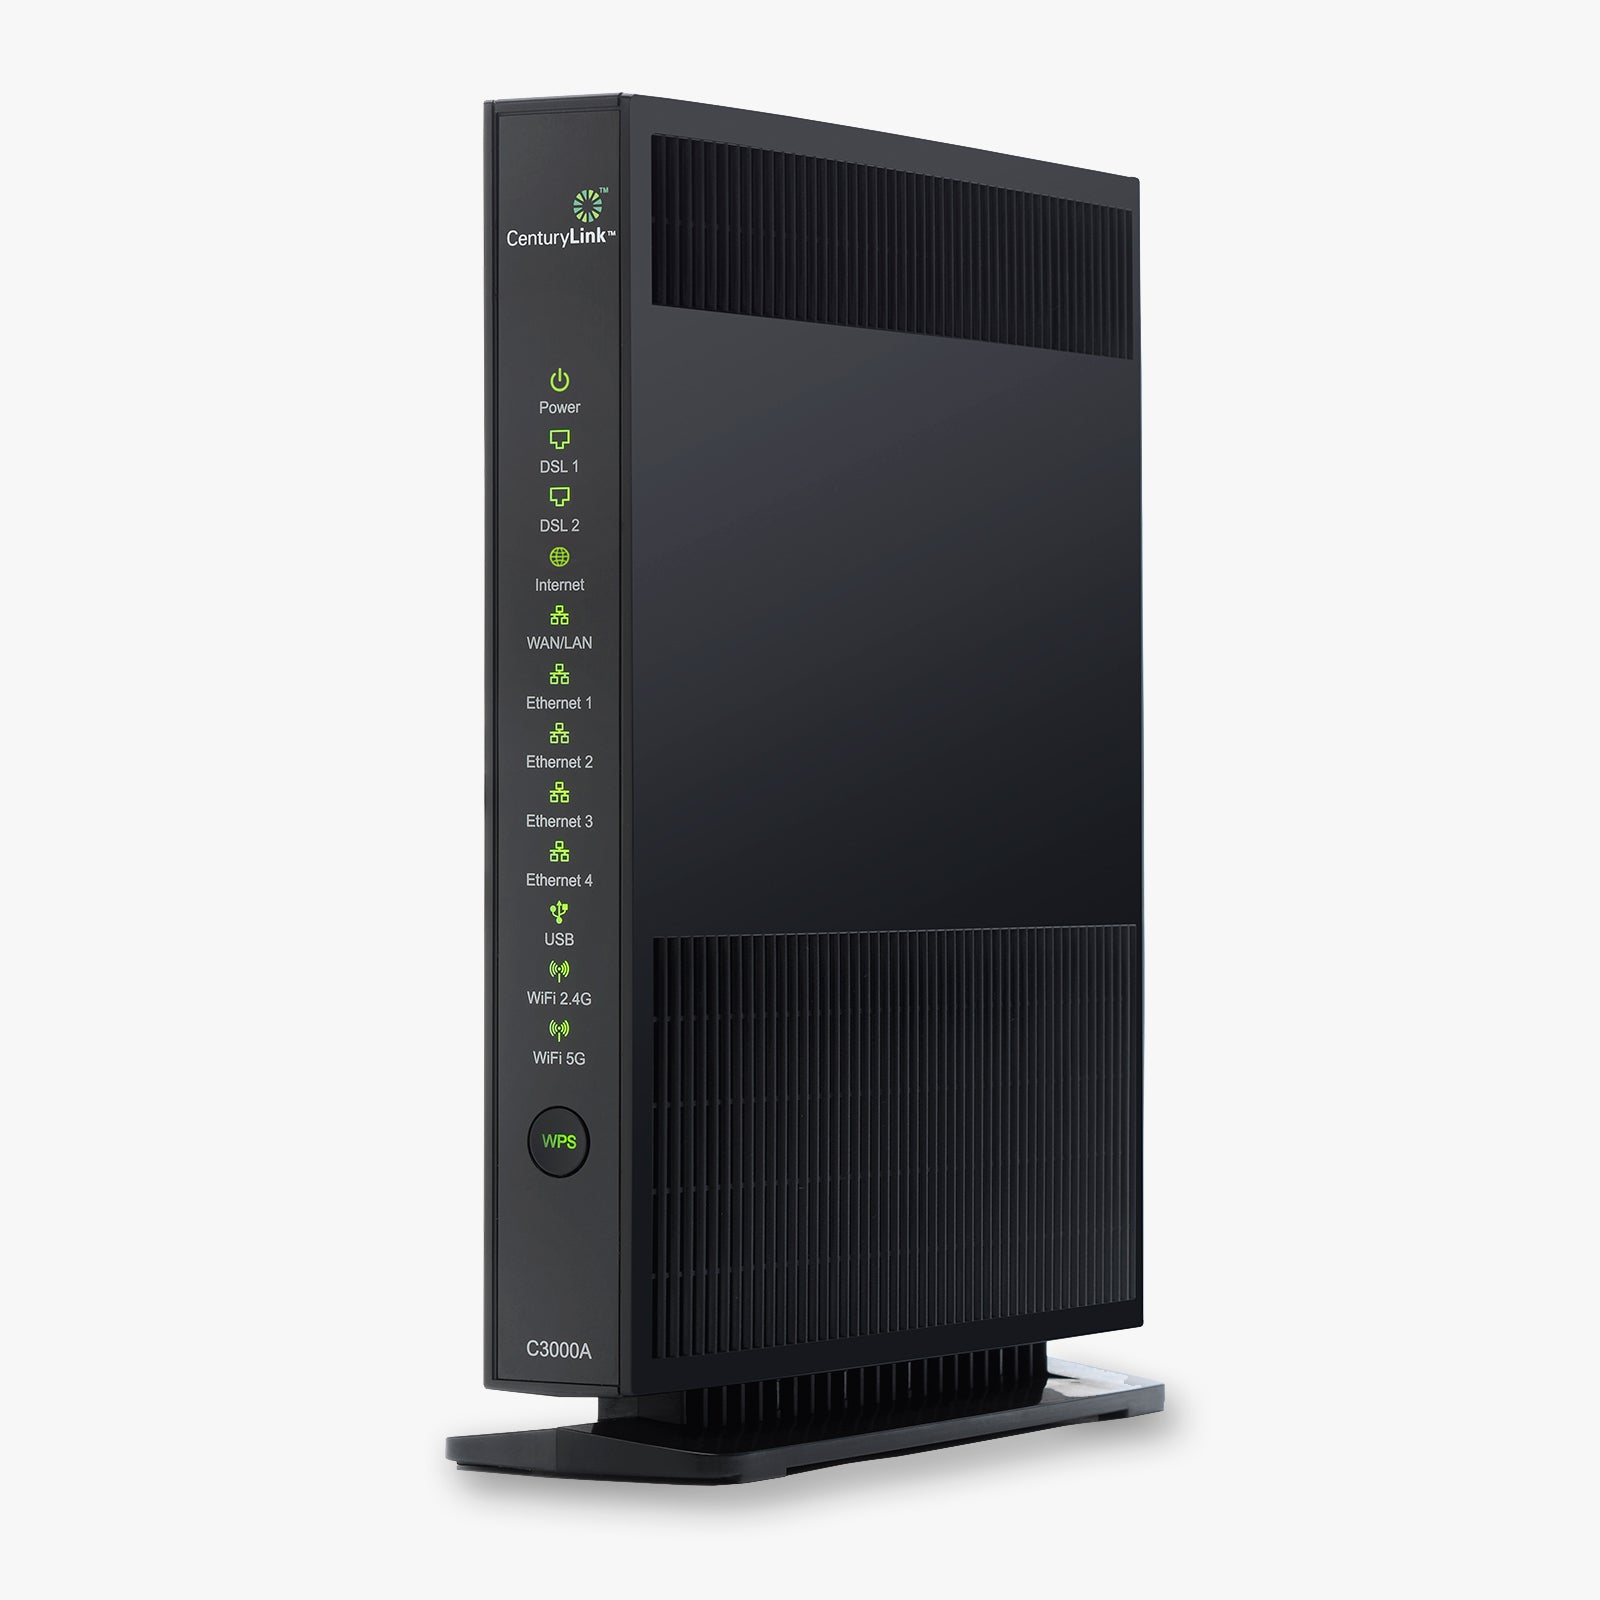
Step 2: Connect the hardware. Plug the green DSL phone cable from your wall jack into the DSL port on the modem (for DSL service) or connect the fiber cable to the appropriate port (for fiber service). Then connect the power adapter and plug the modem into a wall outlet. Allow up to 15 minutes for the modem to boot up and install any firmware updates.
Step 3: Check the indicator lights. A solid blue or green light on the front of the modem indicates a successful connection to the CenturyLink network. A solid red light means a connection issue that may require troubleshooting or contacting support.
Step 4: Activate online. Connect a computer to the modem using the included Ethernet cable. Open a web browser and navigate to http://connect.centurylink.com. Follow the on-screen prompts to verify your identity, accept the subscriber agreement, and complete activation. You can also activate through the My CenturyLink mobile app by selecting "Install My New Modem."
Step 5: Configure your Wi-Fi network. During activation, you will be prompted to enable wireless and set your network name (SSID) and password. For security, choose a unique name and a strong passphrase. Your default credentials are also printed on a sticker on the modem.
If you are installing your own third-party modem, perform a factory reset before connecting to clear any previous credentials. Once reset and plugged into an active CenturyLink line, the modem should provision automatically. You can verify compatibility and find additional setup guidance on the CenturyLink support site.


 Wireless Routers
 Cable Modems
 DSL Modems
 WiFi Range Extenders

